


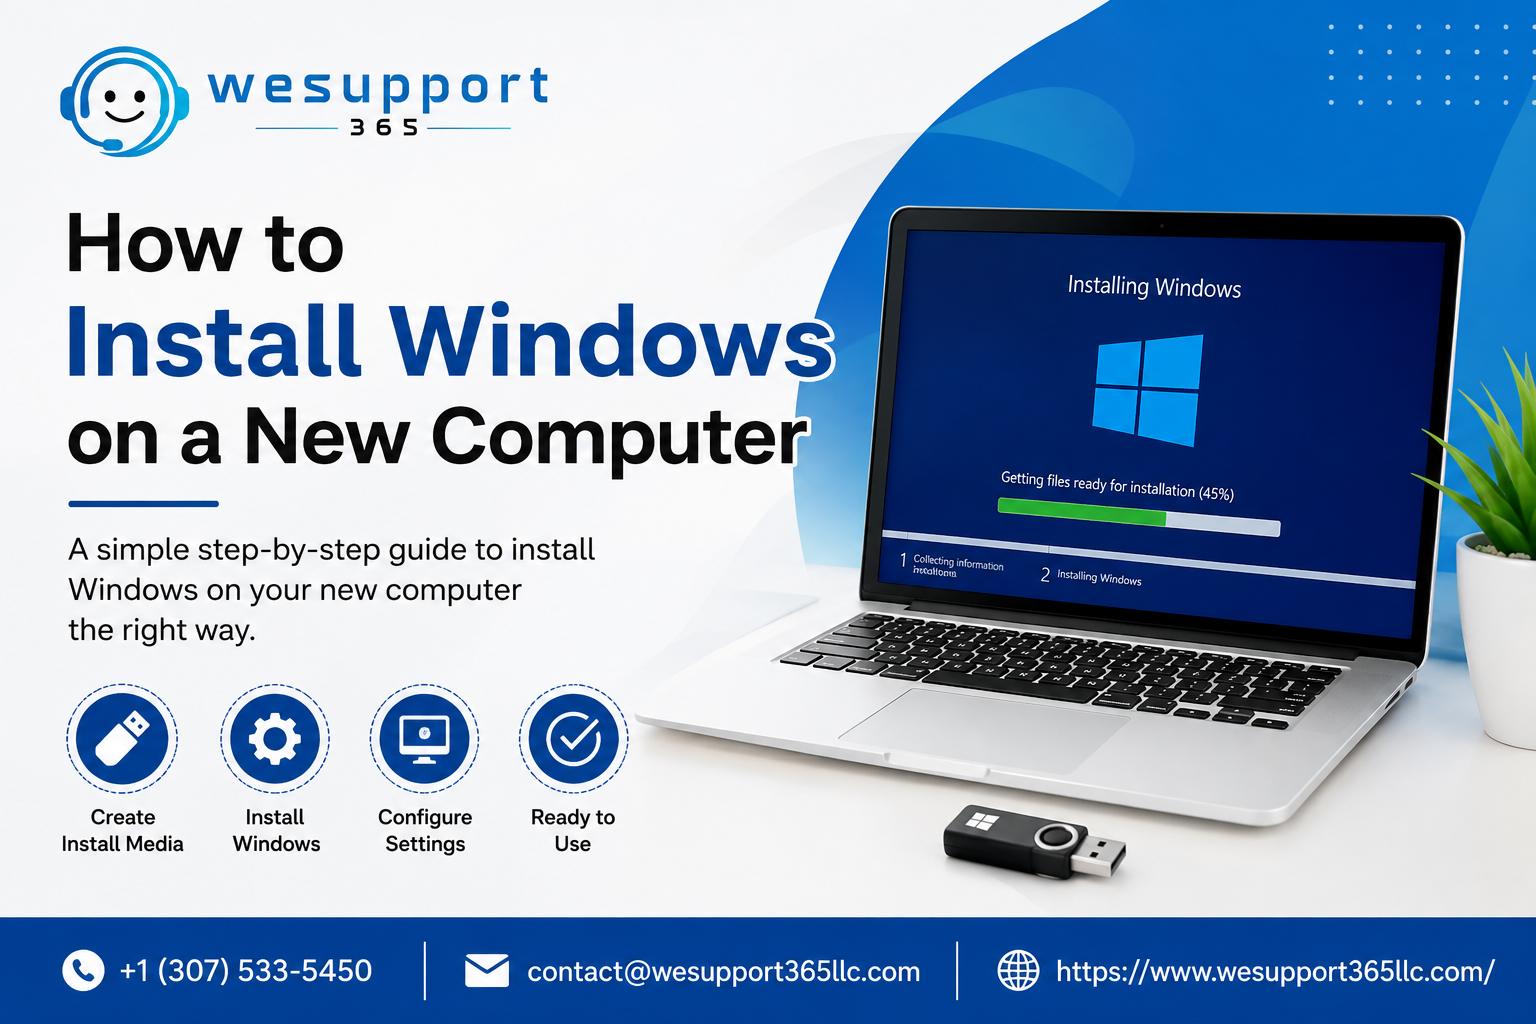
How to Install Windows on a New Computer
The installation of the Windows OS is one of the very first things that have to be done to ensure that your computer becomes fully functional when it comes to working, entertaining, communication, and other personal activities. The newly installed Windows OS will give you a good opportunity to organize your computer the way you need it to be. Regardless of whether you have bought yourself a desktop or laptop that does not have an OS, it is important to know how to do that.
Here you will find out how to install Windows on your new computer.
Prepare Your New Computer
It is important for one to make sure that their system meets all the specifications required for the Windows operating system before the installation process starts. Apart from making sure that the system is connected to the internet, it is equally important to ensure that you have enough space on your USB flash drive for installing the Windows Operating System.
In case there is any valuable data on the computer, make sure you back up the data before conducting the installation. A clean installation of the operating system may lead to the loss of any existing information on the chosen drive.
Professional Computer Setup Services can also be considered when you need help setting up a newly acquired computer and installing Windows OS.
Create Windows Installation Media
In the following stage, one needs to make a bootable installation USB of Windows. One may use the official tool offered by Microsoft which allows downloading Windows installation files and preparing bootable USB.
Plug the USB drive to an operating computer and use the Windows installation media creation tool of Microsoft. Just follow the steps that will be shown on the screen and choose the necessary Windows version. This tool will download all the needed files and prepare bootable installation media.
Keep in mind that preparing installation media will delete all the files from the USB drive. Thus, one should use an empty USB drive.
After everything is done, disconnect the USB drive from the computer and plug it to the new PC.
Start the Windows Installation
Power on your computer having the USB drive with Windows installed attached to it. In some cases, you may be required to go to the computer’s boot menu or BIOS/UEFI set up menu and select the USB drive for booting.
The particular key which you need to press in order to enter the boot menu will depend upon the manufacturer of your computer. Some common keys include F12, F9, F11, Esc and Del.
Once you select the USB drive, the installation process of Windows will begin. Choose your preferred language, time and currency format, and keyboard layout. Then select the option to begin installing Windows.
Enter Your Product Key
During installation, Windows may ask for a product key. If you have a valid key, enter it when requested. Depending on your Windows license and installation circumstances, you may also have an option to continue without entering the key immediately.
Make sure you select the correct Windows edition that matches your license. Choosing an incorrect edition can create activation problems later.
Select the Installation Type
Windows typically provides different installation options depending on the current state of the computer. For a completely new computer or a clean installation, you may need to choose the custom installation option.
The installer will display available storage drives and partitions. This is an important stage because deleting or formatting the wrong partition can permanently remove data.
If the computer is brand new and the storage drive does not contain important information, follow the manufacturer's or Microsoft's recommended partition setup. If you are uncertain about a partition, avoid deleting it until you understand its purpose.
For users who prefer professional assistance, Computer Installation Services can help with operating system installation, device configuration, and initial software setup.
Let Windows Install
Once the suitable place for installation is chosen, Windows will start transferring and installing the files. Your computer might reboot a few times throughout the process.
Do not unplug your computer or detach the USB drive used for installing Windows until the process is done and there are instructions that tell you otherwise. If your computer initiates the installer upon rebooting, you might be required to detach the USB or choose an internal drive for booting.
The time of installation will depend on your hardware and which Windows OS you have installed.
Complete the Initial Windows Setup
Once the installation process is complete, Windows will prompt you to configure it for the first time. Some of the things that you may be required to do include selecting your region, keyboard layout, network, and account options.
Ensure that you connect to Wi-Fi or Ethernet during the process. This is because an internet connection helps the Windows operating system get its updates.
In addition to that, you will be prompted to create a Microsoft account or login using one. Do this following the instructions provided.
When you are setting up a PC for someone else, such as a family member, ensure that you configure it depending on its usage.
Proper Home Computer Setup should encompass things like creation of accounts, attachment of peripherals, configuration of preferences and making it ready for use.
Install Windows Updates
After reaching the Windows desktop, one of the most important tasks is checking for updates. Open Windows Settings and navigate to Windows Update.
Allow Windows to search for available updates and install the recommended ones. Your computer may need to restart several times.
Updates can include security improvements, bug fixes, performance enhancements, and hardware compatibility improvements. Keeping Windows updated is an important part of maintaining a new computer.
Install Device Drivers
Windows often installs many drivers automatically, but some devices may require manufacturer-specific drivers. Check important hardware such as graphics adapters, network devices, audio components, printers, and other peripherals.
Whenever possible, download drivers from the hardware manufacturer's official website. Avoid downloading drivers from unfamiliar third-party websites.
After installing important drivers, restart the computer if required and check Device Manager for hardware showing errors or missing drivers.
Install Essential Software
Once Windows and device drivers are ready, install the applications you regularly use. These might include a web browser, office software, communication applications, media tools, security software, or other productivity programs.
Only install software from trusted sources. Review installation options carefully so unwanted applications or browser changes are not added accidentally.
You can now customize your desktop, taskbar, display settings, notifications, and other Windows preferences.
Connect Your Devices
The final stage is connecting the accessories you plan to use. This may include a printer, monitor, keyboard, mouse, webcam, speakers, external storage, or other peripherals.
Check that each device works correctly. Print a test page if you have a printer, test your microphone and speakers, and verify that Wi-Fi and Bluetooth devices connect properly.
A complete Computer Setup should leave the device ready for normal use rather than stopping immediately after Windows reaches the desktop.
Final Checks After Installation
However, before we consider the installation process complete, there are a number of things we should check. Make sure that you have activated Windows, applied all updates, all necessary drivers are functioning correctly and your internet connection is up and running.
Check out the Windows security settings and make sure that you have enabled all possible security options. Backup all your important documents and files.
It is always advisable to have your files well-organized and delete any software that did not come along with the computer but is not needed.
Windows Computer Setup support can help those who are looking for guidance during their installation and configuration process.
Conclusion
Setting up Windows on a new computer might look very confusing at first glance; however, when approaching this task step by step, it turns out to be rather easy. Preparation of installation medium, drive selection, Windows set-up, updating of the system, driver check, and application set-up are some crucial elements of a good installation.
Be very careful while installing Windows, particularly when dealing with disk partitioning. When you are not sure how to perform any technical procedure, it is recommended to seek professional help in order to avoid mistakes in configuration and save time.
After proper installation of Windows and configuration of the computer, it will be ready for working, recreation, communication, and other activities.